The minimal proof of concept for any SAML solution is to secure two different websites with SAML. For this I decided to secure an off the shelf SAML ready product we had already installed (Qlik Sense) and a simple bespoke application running on Apache. This blog cover the first part consisting on installing a Gluu Server on AWS and setting up SAML with Qlik Sense.
Prerequisites for this are:
- Qlik Sense has been installed. Instructions can be found here as to how to do this
- Ubuntu server is available to install Gluu Server. I used a t2.medium EC2 instance running Ubuntu on AWS for this purpose. I did try to use AWS Linux for this and the Apache server but found that the Sibboleth component isn’t tested against AWS Linux would require a manual build.
Installing Gluu:
You can follow the official instructions here. If you are doing this properly you should be using fully qualified host names for all servers and not IP addresses as I have done for the POC.
The steps I used are below. SSH to server then run the following commands. All Linux commands assume you are running as root.
sudo su
apt-get upgrade
echo "deb https://repo.gluu.org/ubuntu/ trusty main" > /etc/apt/sources.list.d/gluu-repo.list
curl https://repo.gluu.org/ubuntu/gluu-apt.key | apt-key add -
apt-get updateqlik
apt-get install gluu-server-2.4.1
service gluu-server-2.4.1 start
service gluu-server-2.4.1 login
cd /install/community-edition-setup/
./setup.py
The following are the example values you could use for the setup.py script. If I’ve left it blank then just press enter to take accept the default value
Enter IP Address [10.0.101.8] : 10.0.101.8 (This must be the private IP address id deploying into AWS)
Enter hostname [localhost] : 52.62.46.159 (Use public facing IP address if you do not have a domain name for the server)
Enter your city or locality : Wellington
Enter your state or province two letter code : NA
Enter two letter Country Code : NZ
Enter Organization Name : OptimalBI
Enter email address for support at your organization : ben.lee@optimalbi.com
Enter maximum RAM for tomcat in MB [1536] :
Optional: enter password for oxTrust and LDAP superuser [XXXXXXXXXX] :
Install oxAuth OAuth2 Authorization Server? [Yes] :
Install oxTrust Admin UI? [Yes] :
Install Gluu OpenDJ LDAP Server? [Yes] :
Install Apache HTTPD Server [Yes] :
Install Shibboleth 2 SAML IDP? [No] : Yes
Install Asimba SAML Proxy? [No] :
Install CAS? [No] :
Install oxAuth RP? [No] :
The script will take a while to run. I’ve not timed it, but it’s more than 10 minutes.
Once complete the script will provide you a message with the server URL to log into in my case https://52.62.46.159. Login with the user/password admin/XXXXXXXXXX (The password is the one set for oxTrust)
Setup Qlik Intergration:
Official instructions are here if your interested.
Configuring the virtual proxy.
- Select Virtual proxies on the Qlik management console (QMC) start page.
- Click Create new. You cannot add a virtual proxy to more than one proxy at a time.
- Edit the properties in the Virtual proxy edit
Under identification set the values to the following
Description: SAMLTest
Prefix: SAML
Session inactivity timeout (minutes): 30
Session cookie header name: X-Qlik-SAML-Session
Under Authentication set the values to the following
Anonymous access mode: No anonymous user
Authentication method: SAML
SAML host URI: https://52.62.46.160 This should be the domain name/IP address of your Qlick server
SAML entity ID: GLUU
SAML metadata: This is the file you can find on http://<IdP Server>/idp/shibboleth e.g. https://52.62.46.159/idp/shibboleth
SAML attribute for user ID: uid
SAML attribute for user directory: [WIN-8EJD3FANIMH] If you set this and existing Qlik User Directory then this will map matching users from Gluu to Qlik Users
SAML attribute mapping:
Under Load Balancing
Add a new server node and pick an available one
Under Advanced set the values to the following
Websocket origin white list: Same as what was entered for the default virtual Proxy
Click apply then click apply in the action bar to save your changes.
Next to link the virtual
- To the right on the Virtual proxy edit page, under Associated items, click Proxies.
- In the action bar, click Link.
- Select the node to link to and click Link.
- Restart the QMC.
- Open the virtual proxy overview page and select the proxy whose metadata that you want to download.
- Click Download metadata. Save file as this is needed on the Gluu Server
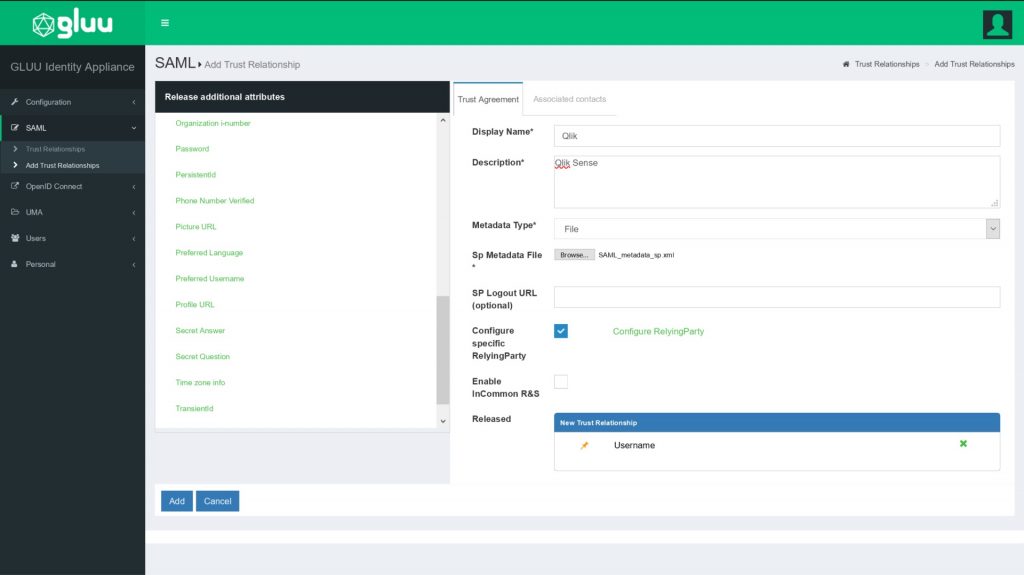
In Gluu Server, create a trust relationship by performing the following steps in the web console.
Under SAML -> Select Add Trust Relationship
The use the following settings
Display Name: Qlik
Description: Qlik Sense
Metadata Type: File
Sp Metadata File: Browse and upload the file saved when you downloaded the metadata file from Qlik
SP Logout URL:
Configure specific RelyingParty:
Enable InCommon R&S:
Released: Username
Click Add

Testing:
Create a user in Gluu that matches the username of a user in Qlik which has a user access token. If you don’t you will get the following error.

Accessing Qlik Sense by using the virtual proxy prefix. In this case we set it to SAML so the full URL will be in the following format https://<QLIK IP>/SAML/
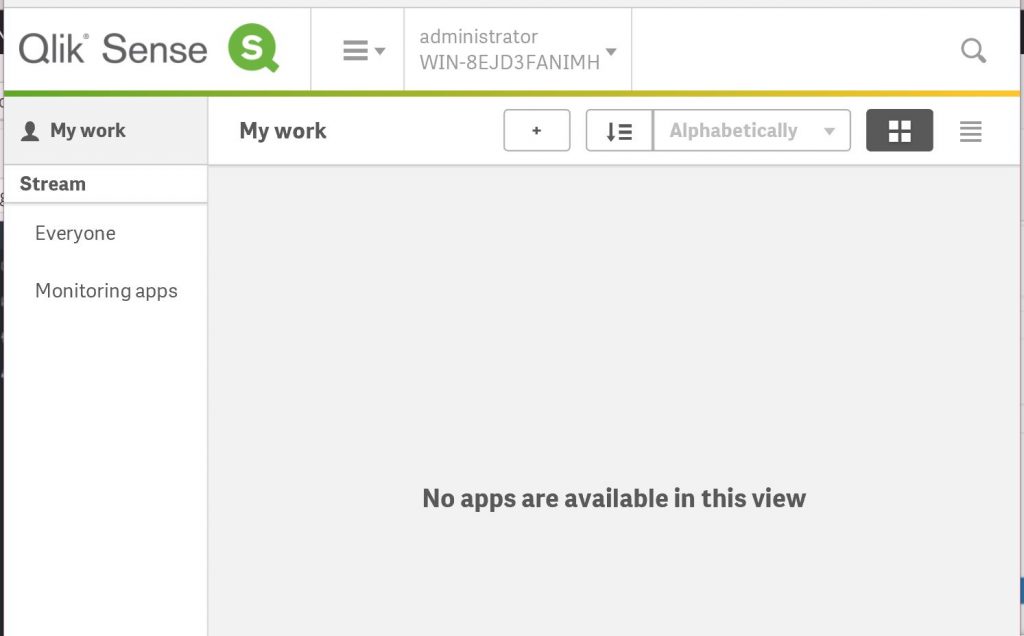
This will redirect you to the Gluu login screen and the send you back to click after a successful authentication.

Job done.

All the code, all the fun – Ben


